Mettre à jour votre iPhone 4 en 4.3.1 sans modifier le Baseband (Windows)
Ce tutorial vous permettra de mettre à jour votre iPhone 4 en iOS 4.3.1 sans en modifier le Baseband en utilisant TinyUmbrella sous Windows.
Attention : Ceci fonctionne UNIQUEMENT pour l'iPhone 4!
Etape 1
Téléchargez TinyUmbrella ici. Assurez-vous d'avoir téléchargé également l'iOS 4.3.1 pour iPhone 4, vous pouvez le trouver ici.

Etape 2
Double cliquez sur le fichier TinyUmbrella.exe téléchargé.

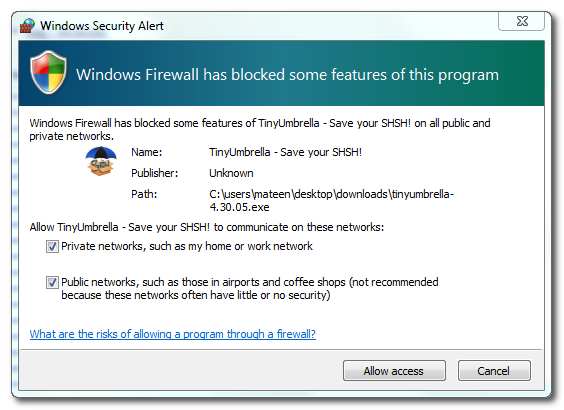
Si une notification du firewall Windows apparait, cochez les deux cases et cliquez sur Autoriser l'accès.

Etape 3
Assurez-vous que votre iPhone est connecté, et que Tiny Umbrella a détecté le bon type d'appareil ainsi que son firmware.

**Si vous n'avez pas encore sauvegardé vos SHSH pour l'iOS 4.3.1 alors faites-le maintenant en cliquant sur Save SHSH. Assurez-vous qu'ils sont effectivement sauvegardés avant de continuer.

Etape 4
Cliquez sur Start TSS Server et assurez-vous de n'avoir aucun message d'erreur.

Une fois que le Serveur TSS "fonctionne" correctement, Umbrella va arrêter iTunes. Gardez TinyUmbrella ouvert. Vous pouvez contrôler que le serveur TSS est toujours lancé dans l'onglet Log.

Si un message d'erreur apparaît, NE CONTINUEZ PAS ! Votre restauration ne pourra pas se faire si le serveur TSS n'est pas fonctionnel ou n'a pu être démarré.
Etape 5
Ouvrez iTunes en double-cliquant sur son icône.

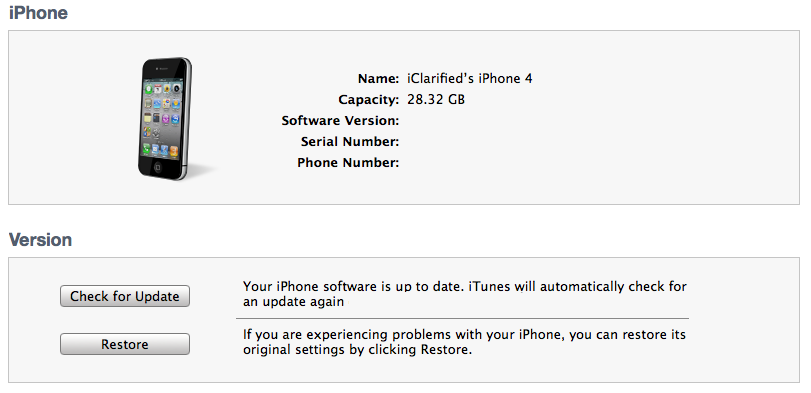
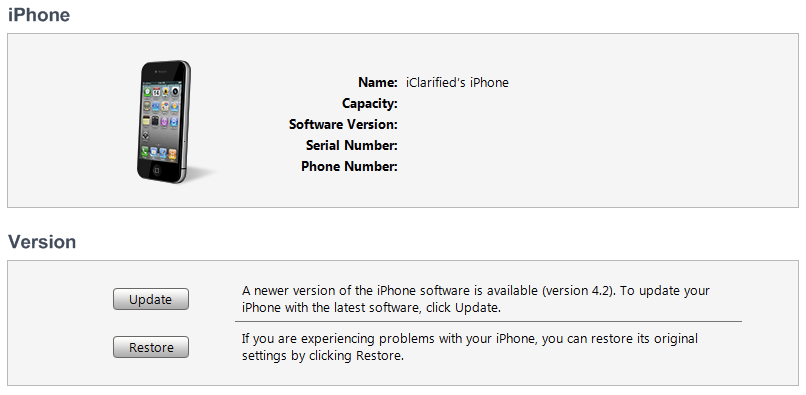
Appuyez et maintenez enfoncée le touche Shift (ou Maj) et cliquez sur Restaurer

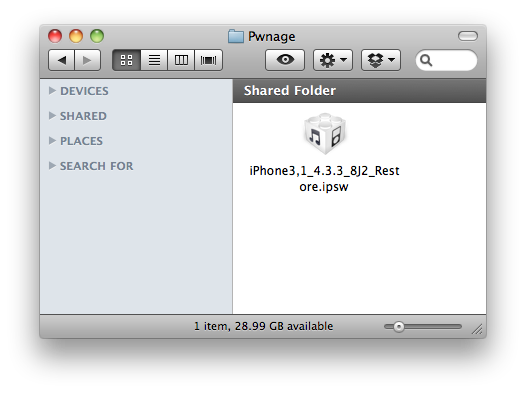
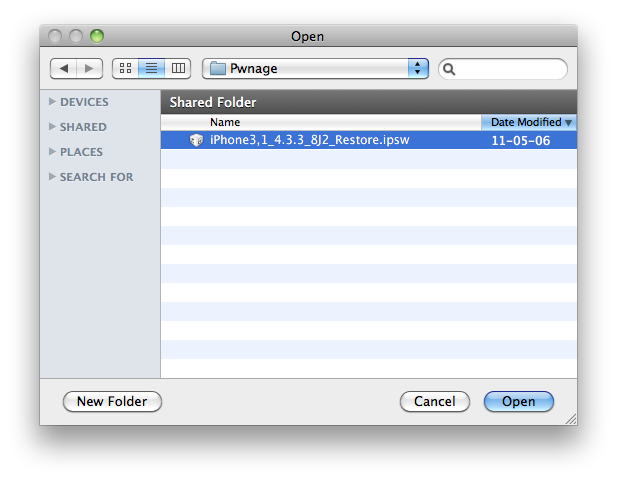
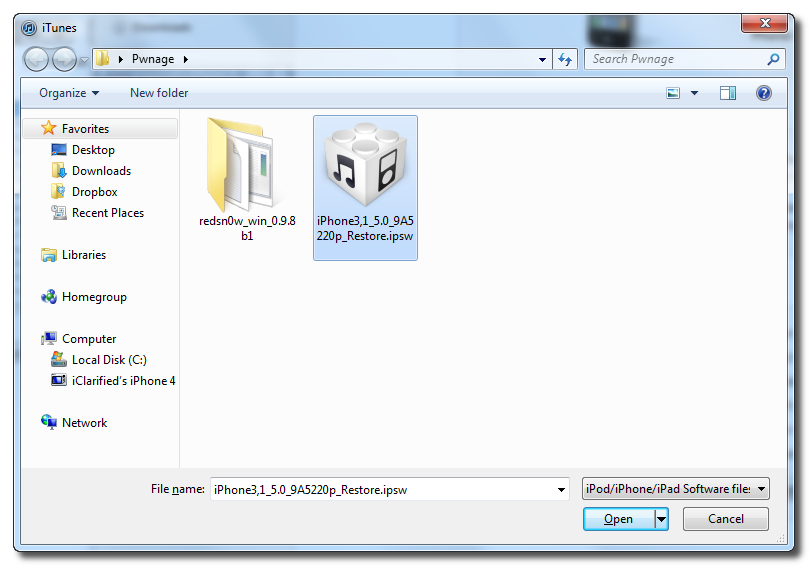
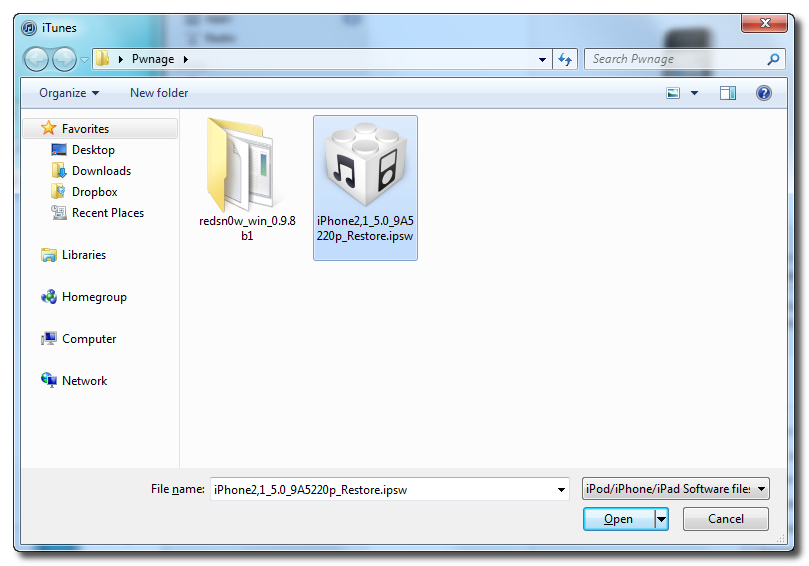
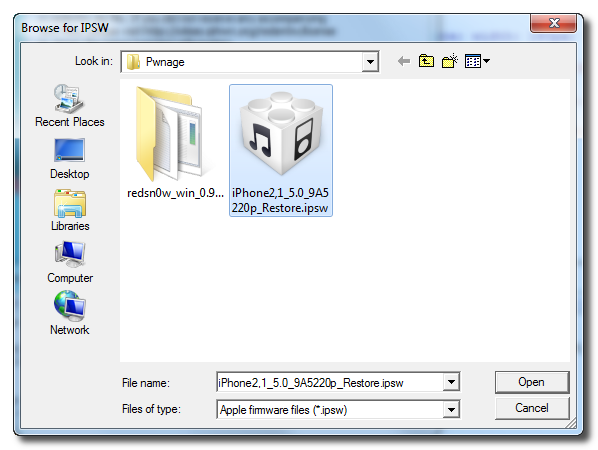
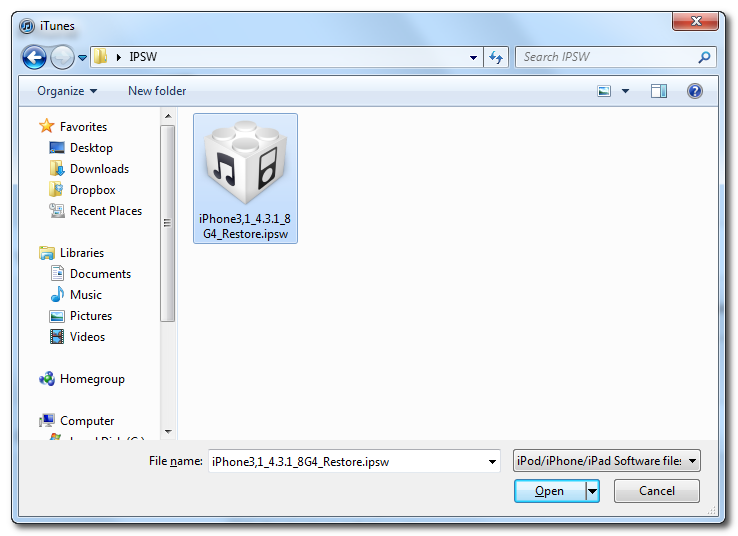
Choisissez votre firmware pour iPhone 4.3.1 dans la fenêtre qui s'ouvre et cliquez sur Ouvrir.

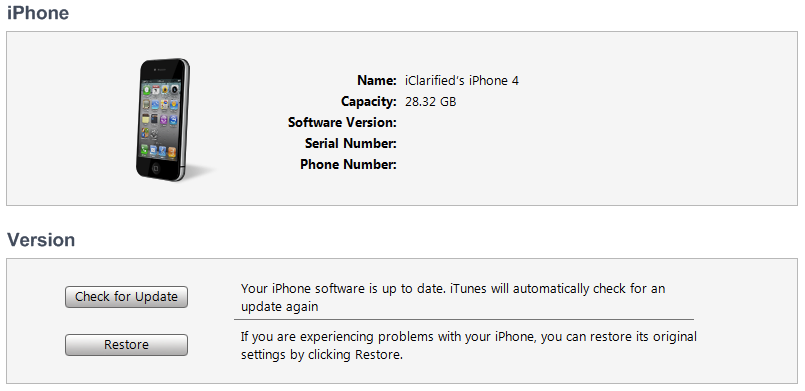
Cliquez sur Restaurer pour lancer la restauration de votre iPhone.

Etape 6
iTunes devrait afficher une erreur 1013. C'est ce que nous voulions déclencher, puisque il détecte que le Baseband n'a pas été mis à jour ;) Cliquez sur Ok et fermez iTunes.

Si une erreur 16XX apparaît, essayez d'entrer en mode DFU et retournez à l'étape 5.
Si votre restauration ne se termine PAS par une erreur 1013, cela signifie que votre Baseband a été mis à jour. C'est certainement du au fait que le serveur TSS ne fonctionnait pas OU que vous avez fait la mise à jour sans TinyUmbrella OU que vous avez effectué tout ce qui précède avec un iTruc qui n'était PAS un iPhone 4.
Etape 7
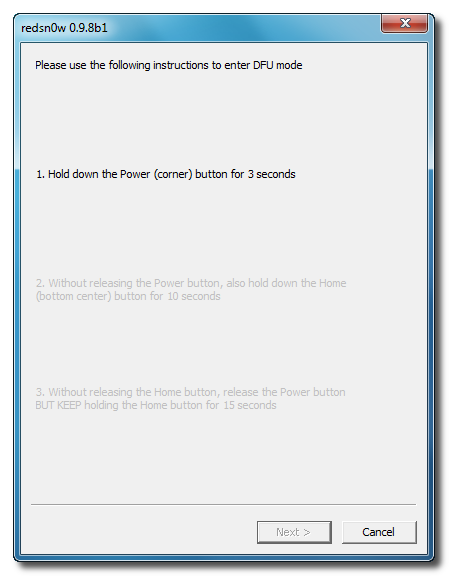
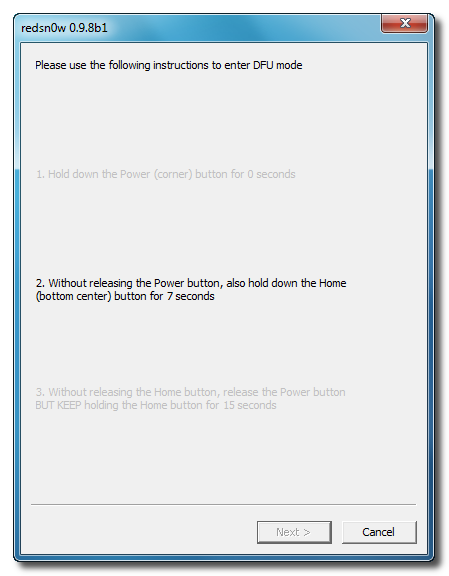
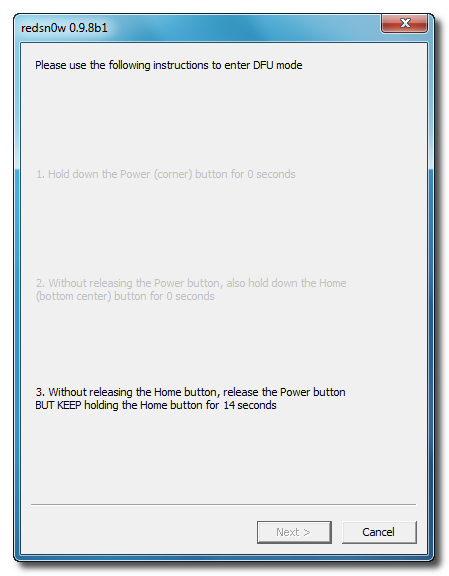
Mettez votre iPhone en mode DFU en maintenant enfoncés les boutons Power ET Home pendant 10 secondes, puis relâchez le bouton Power en maintenant le bouton Home enfoncé pendant encore 5 secondes. Vous pourrez trouver de l'aide sur le mode DFU ici.

Etape 8
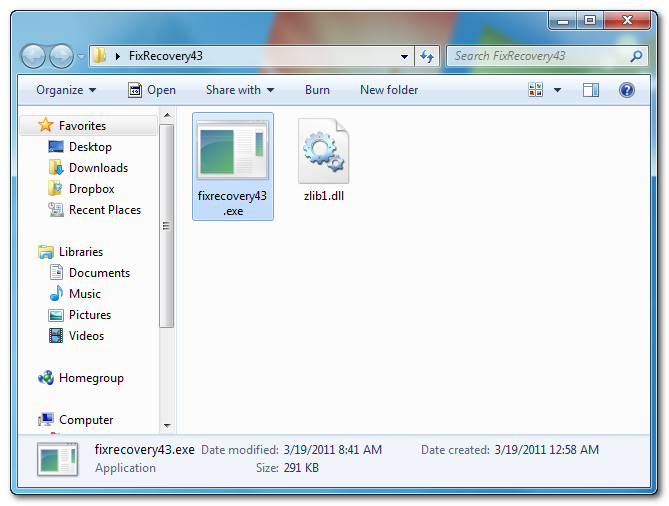
A cet instant Fix Recovery n'est pas fonctionnel dans TinyUmbrella. Téléchargez ce fichier .zip pour patcher la restauration en 4.3.1. Extrayez le fichier .exe contenu dans le zip et lancez le fichier fixrecovery43.exe. Une fenêtre de commande s'ouvrira, et le programme se lancera. Vous pourrez observer du texte défiler sur l'écran de votre iPhone 4 pendant l'exécution.

Etape 9
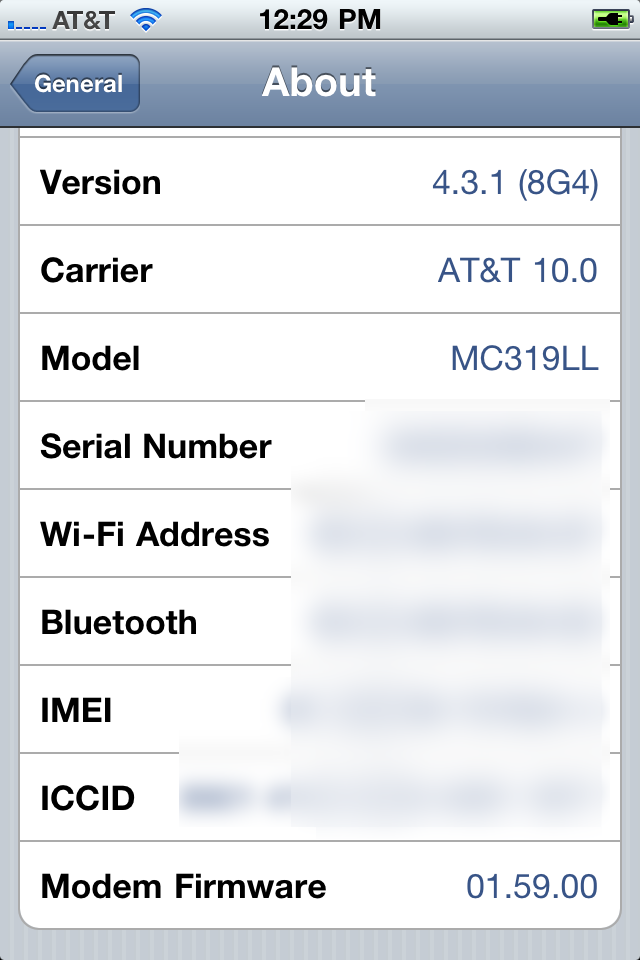
Votre iPhone est maintenant en iOS 4.3.1 avec le Baseband 1.59.00 ! (Ce qui signifie que vous pouvez maintenant le désimlocker avec ce tutorial)

**Merci à semaphore pour son travail sur cet outil.
Ce tutorial vous permettra de mettre à jour votre iPhone 4 en iOS 4.3.1 sans en modifier le Baseband en utilisant TinyUmbrella sous Windows.
Attention : Ceci fonctionne UNIQUEMENT pour l'iPhone 4!
Etape 1
Téléchargez TinyUmbrella ici. Assurez-vous d'avoir téléchargé également l'iOS 4.3.1 pour iPhone 4, vous pouvez le trouver ici.
Etape 2
Double cliquez sur le fichier TinyUmbrella.exe téléchargé.
Si une notification du firewall Windows apparait, cochez les deux cases et cliquez sur Autoriser l'accès.
Etape 3
Assurez-vous que votre iPhone est connecté, et que Tiny Umbrella a détecté le bon type d'appareil ainsi que son firmware.
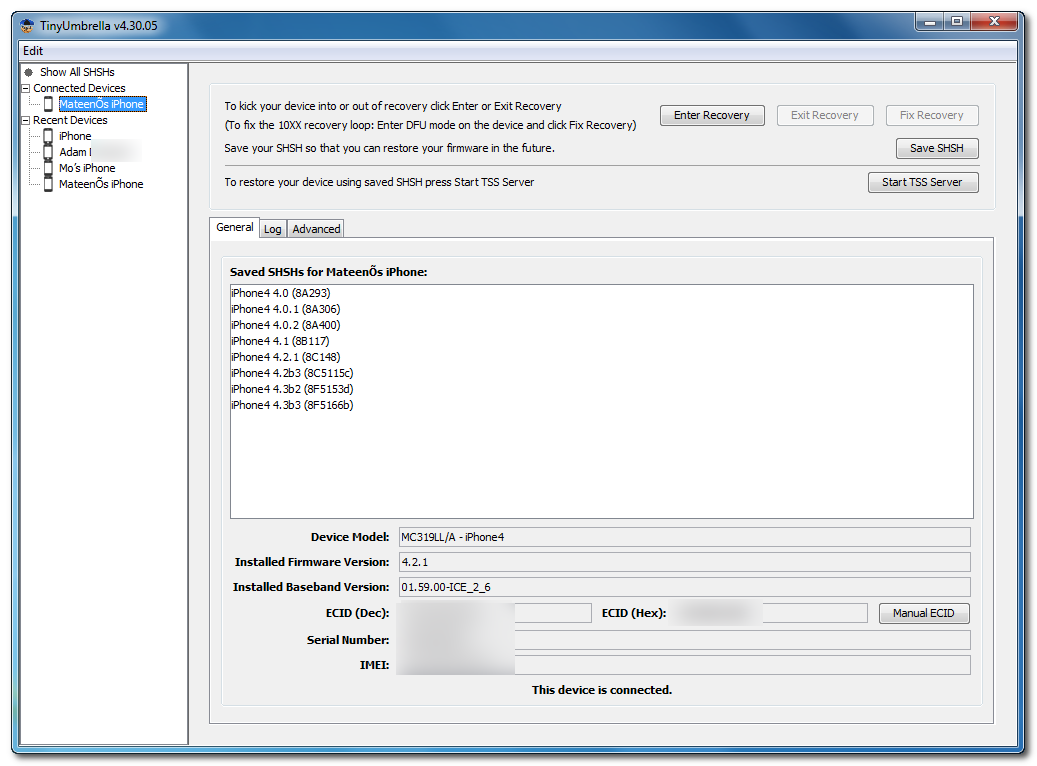
**Si vous n'avez pas encore sauvegardé vos SHSH pour l'iOS 4.3.1 alors faites-le maintenant en cliquant sur Save SHSH. Assurez-vous qu'ils sont effectivement sauvegardés avant de continuer.
Etape 4
Cliquez sur Start TSS Server et assurez-vous de n'avoir aucun message d'erreur.
Une fois que le Serveur TSS "fonctionne" correctement, Umbrella va arrêter iTunes. Gardez TinyUmbrella ouvert. Vous pouvez contrôler que le serveur TSS est toujours lancé dans l'onglet Log.
Si un message d'erreur apparaît, NE CONTINUEZ PAS ! Votre restauration ne pourra pas se faire si le serveur TSS n'est pas fonctionnel ou n'a pu être démarré.
Etape 5
Ouvrez iTunes en double-cliquant sur son icône.
Appuyez et maintenez enfoncée le touche Shift (ou Maj) et cliquez sur Restaurer

Choisissez votre firmware pour iPhone 4.3.1 dans la fenêtre qui s'ouvre et cliquez sur Ouvrir.
Cliquez sur Restaurer pour lancer la restauration de votre iPhone.
Etape 6
iTunes devrait afficher une erreur 1013. C'est ce que nous voulions déclencher, puisque il détecte que le Baseband n'a pas été mis à jour ;) Cliquez sur Ok et fermez iTunes.
Si une erreur 16XX apparaît, essayez d'entrer en mode DFU et retournez à l'étape 5.
Si votre restauration ne se termine PAS par une erreur 1013, cela signifie que votre Baseband a été mis à jour. C'est certainement du au fait que le serveur TSS ne fonctionnait pas OU que vous avez fait la mise à jour sans TinyUmbrella OU que vous avez effectué tout ce qui précède avec un iTruc qui n'était PAS un iPhone 4.
Etape 7
Mettez votre iPhone en mode DFU en maintenant enfoncés les boutons Power ET Home pendant 10 secondes, puis relâchez le bouton Power en maintenant le bouton Home enfoncé pendant encore 5 secondes. Vous pourrez trouver de l'aide sur le mode DFU ici.
Etape 8
A cet instant Fix Recovery n'est pas fonctionnel dans TinyUmbrella. Téléchargez ce fichier .zip pour patcher la restauration en 4.3.1. Extrayez le fichier .exe contenu dans le zip et lancez le fichier fixrecovery43.exe. Une fenêtre de commande s'ouvrira, et le programme se lancera. Vous pourrez observer du texte défiler sur l'écran de votre iPhone 4 pendant l'exécution.
Etape 9
Votre iPhone est maintenant en iOS 4.3.1 avec le Baseband 1.59.00 ! (Ce qui signifie que vous pouvez maintenant le désimlocker avec ce tutorial)
**Merci à semaphore pour son travail sur cet outil.